 These handmade, personalized heat-embossed invitations look professional (if only my photography did, too!). They are perfect for a birthday party at a bead-your-own jewelry studio, or can be adapted for a baby shower or birth announcement. Fellow insomniacs, use that spare time to make a batch!
Please Note: This project requires significant lead time. In addition to whatever advance notice you’d like to give your guests, and the time you need to actually create the invitations*, you’ll need at least 1-2 weeks up front to design and order custom rubber stamps. It’s probably possible to achieve similar results with ready-made stamps, but I couldn’t find any that I liked.
There is an excellent tutorial video for the heat embossing tool on the Paper Source website:
Also, this project was done through pure trial and error. There are probably many other more efficient ways to do it — please share if you have one!
* once you get into the flow, each invitation takes about 10-15 minutes to create
Materials:
- blank note cards that fit in your printer (I used Paper Source A6 in fuschia)
- envelopes sized to fit note cards (used Paper Source A6 envelopes in antique gold)
- rubber stamps for letter beads and round beads (had them custom made by JL Mould via Etsy)
- stamp ink pads (used Color Box frost white and Delicata Golden Glitz)
- thin black marker (used a Papermate Flair)
- heat embossing powder (used clear from Paper Source)
- heat embossing tool (used American Crafts Zap, which looks like it should be shipped in a plain brown wrapper, IMHO)
- blue painter’s tape or other not-terribly-sticky tape
- standard scrap paper (should be bigger than your invitation) for template
Process:
1. Using your favorite design software or pen & paper, create one-color artwork for two custom rubber stamps: 1) plain round beads on a curve + 2) square alphabet beads spelling the birthday child’s name (click for PDF samples). Don’t include the string lines, unless you’d like them to be the same color as the beads. I ordered the stamps from JLMould on Etsy. She mounts stamps on clear blocks, which are extremely useful for precise stamp placement.
2. While you’re waiting for your stamp order, create the invitation text. I used Adobe Illustrator, but really any word processing or desktop publishing tool would work as long as you’re able to set the paper size to match the invitation size. Focus on the text and create very thin strings for your beads (.5 pt hairlines) – the primary decorative elements will be the stamped beads and these will help mainly with alignment.
3. Create a stamping alignment template (sounds official, but it’s really just because I’m not that skilled a rubber stamper). Basically, you want registration marks for each corner of your invitation, as well as extended bead lines printed onto plain paper. This will help you precisely line up your stamps.
4. After a test run or two on plain paper, print out your invitation. Using painter’s tape or something not that sticky, align and secure to stamping template. (I think I eventually created two templates and tried to stamp and emboss two invitations at a time).
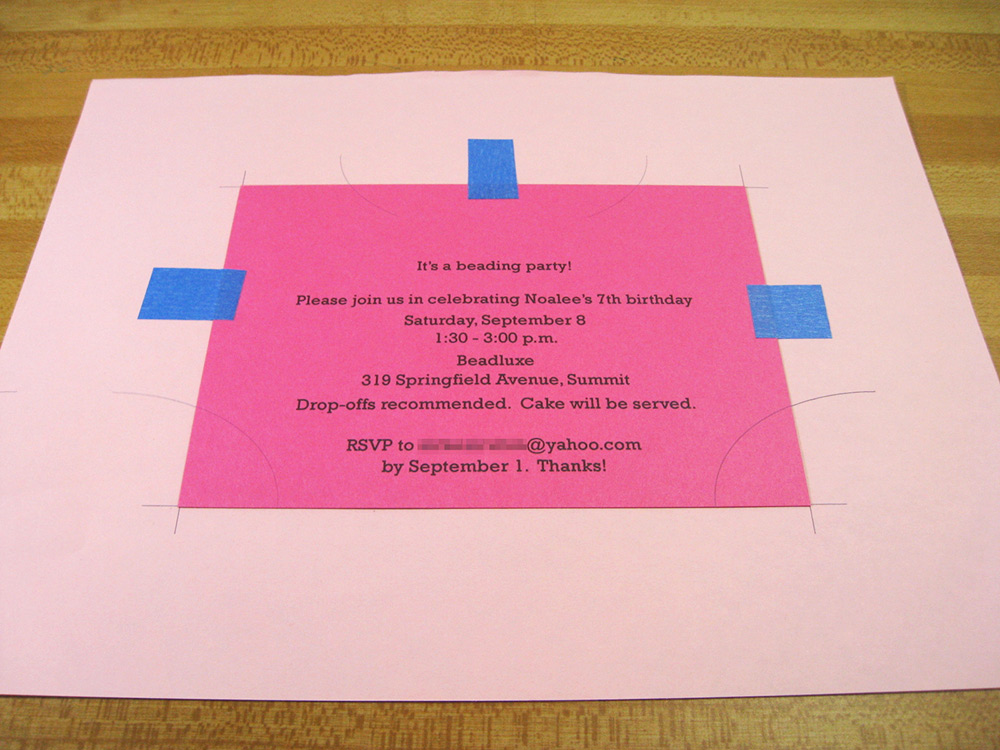
steps 3 & 4: printed invitation lightly fastened to “alignment template”
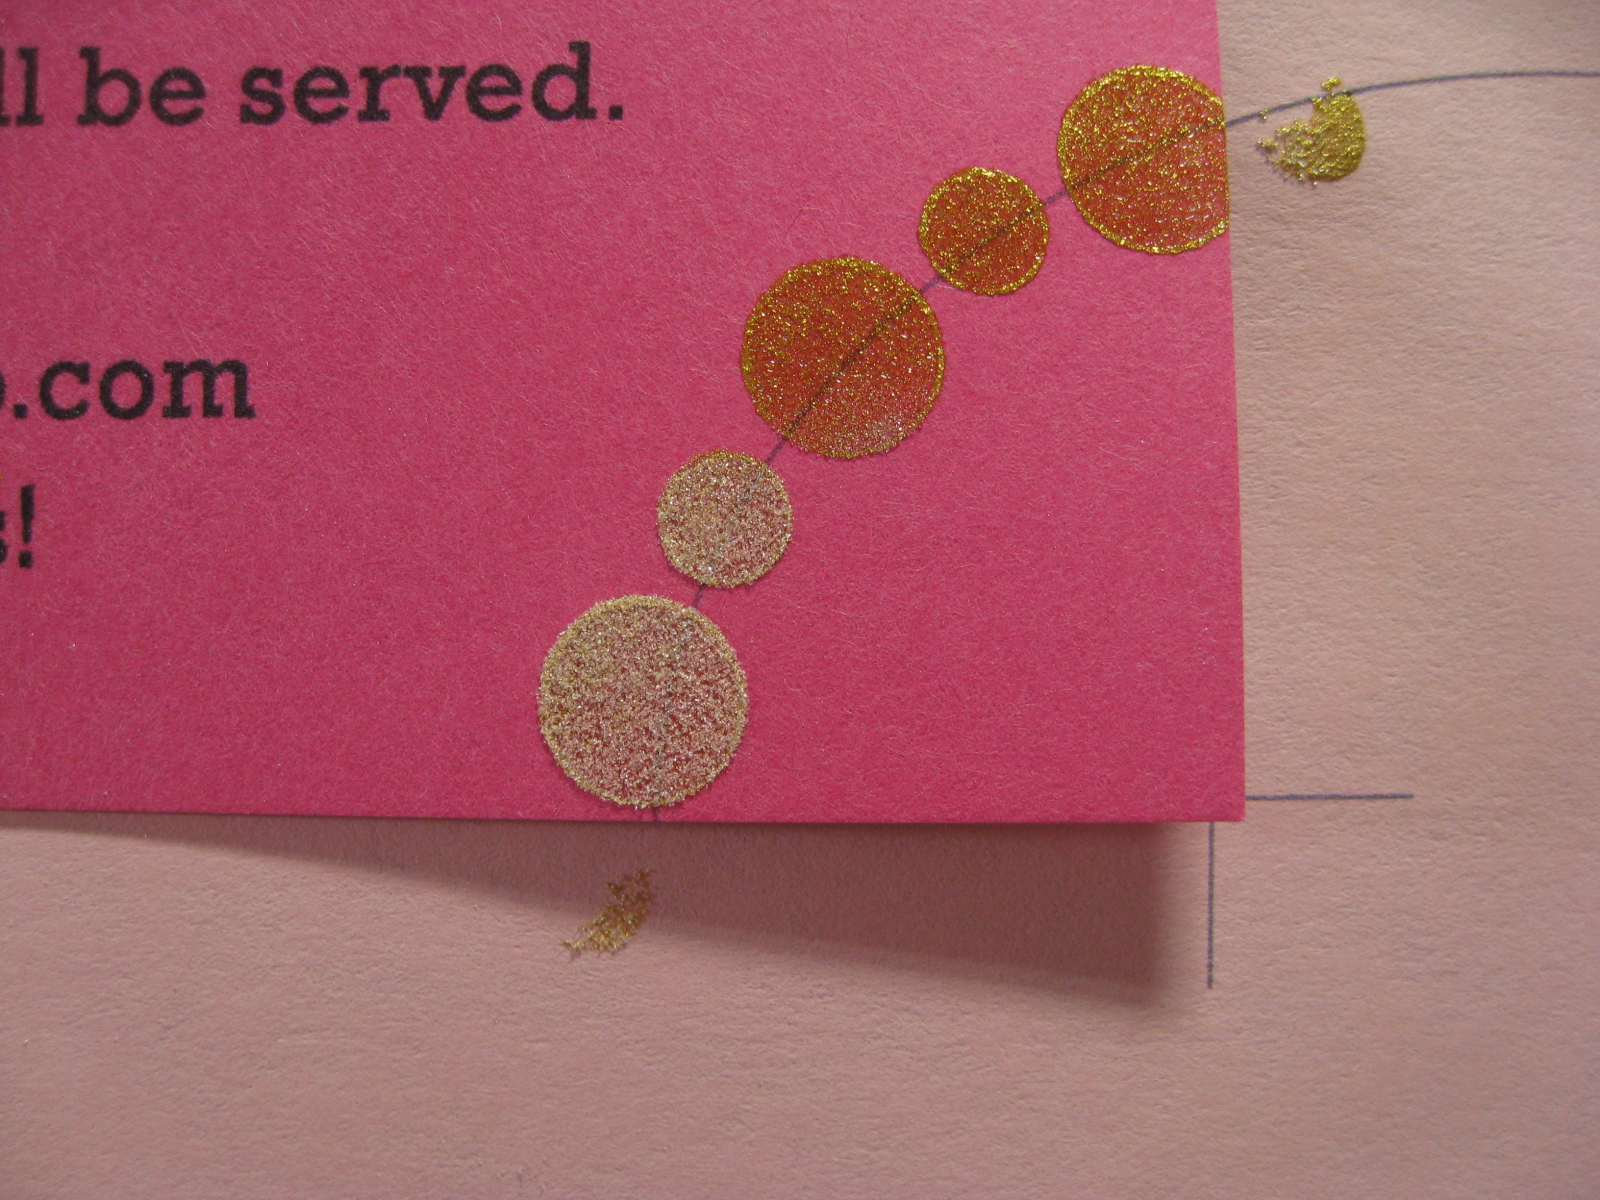
5. Stamp the round beads in the bottom corners and flanking the square alphabet beads (I used gold). You need to rotate the stamp to get the proper alignment in each instance. Use the guide lines on the template to help you. Also stamp the square alphabet beads (I used white).
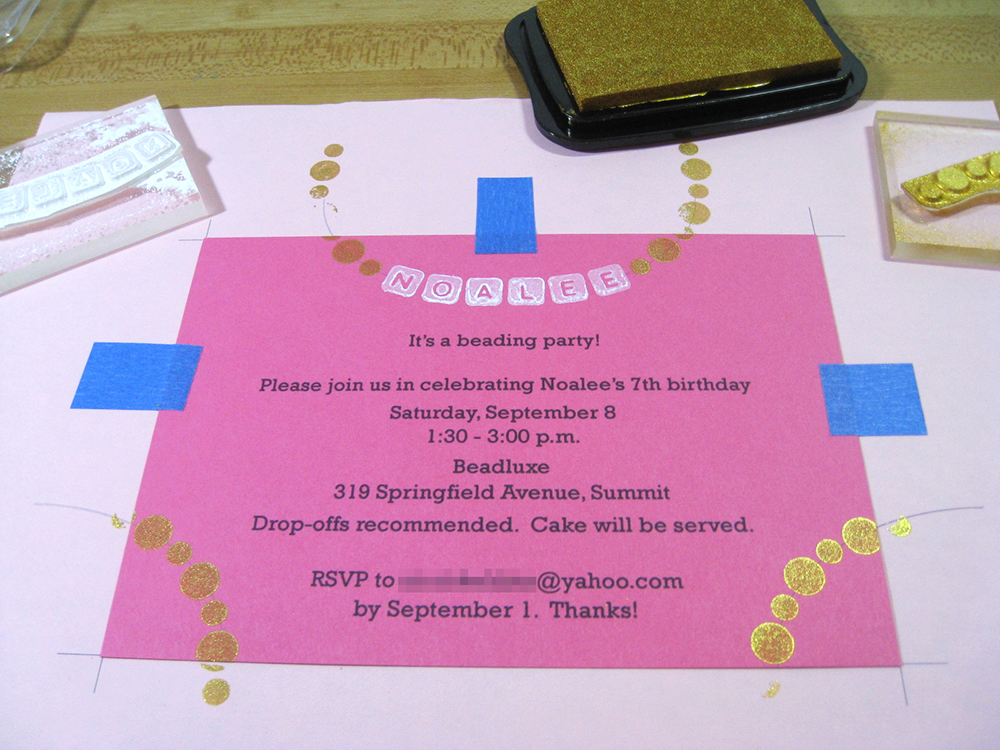
step 5: round beads stamped with gold ink, square beads stamped with white
6. While the ink is still wet, shake on a generous amount of clear embossing powder.
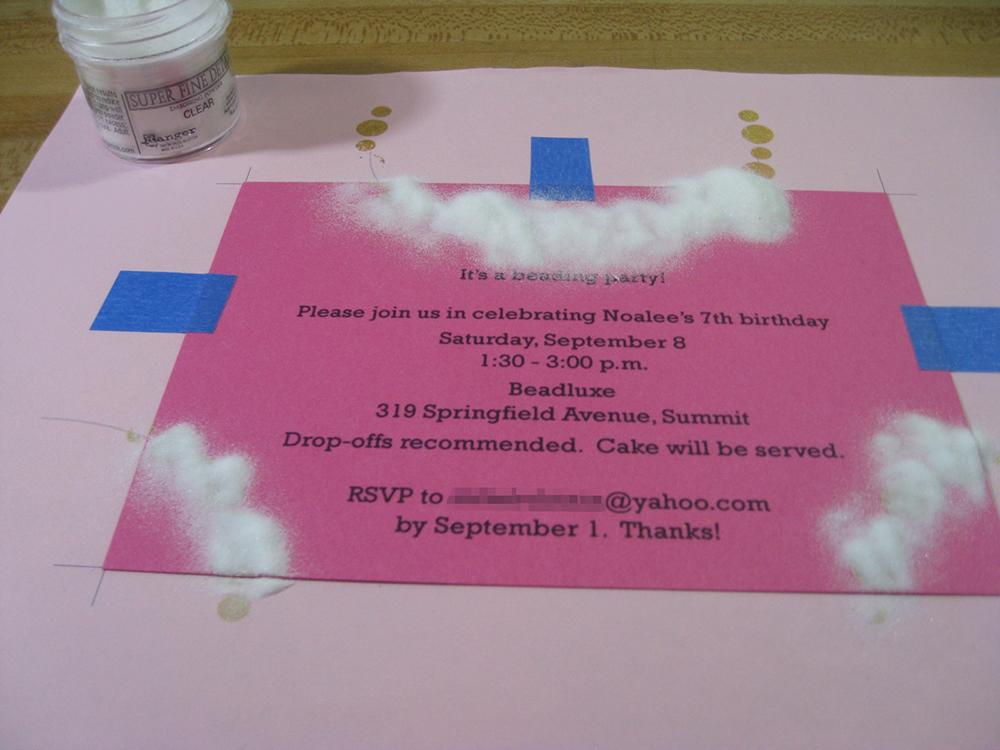
step 6: sprinkle clear embossing powder onto wet rubber stamps
7. Curl the template like a funnel (be careful not to crease it), and tap the excess embossing powder back into the jar.
step 7: tap excess embossing powder back into jar
8. Following video above, or heat embossing tool instructions, heat emboss the powder-covered areas.
step 8: partially heat-embossed
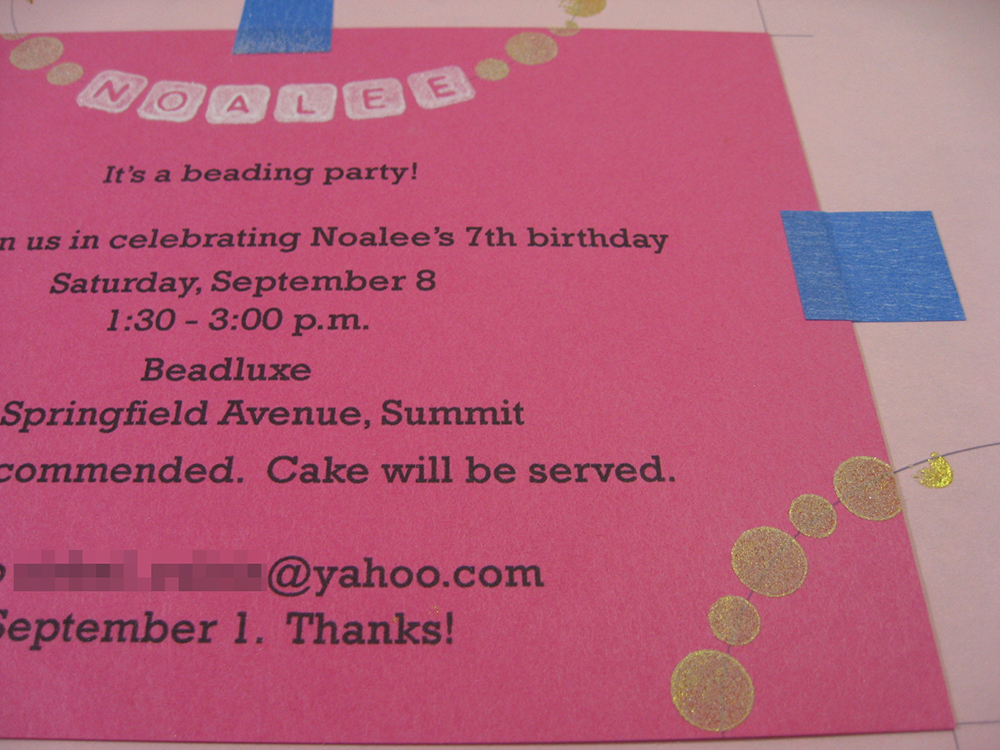
9. Once you’ve heat-embossed all the rubber stamped areas, use your marker to trace the bead strings and fill in the letter beads.
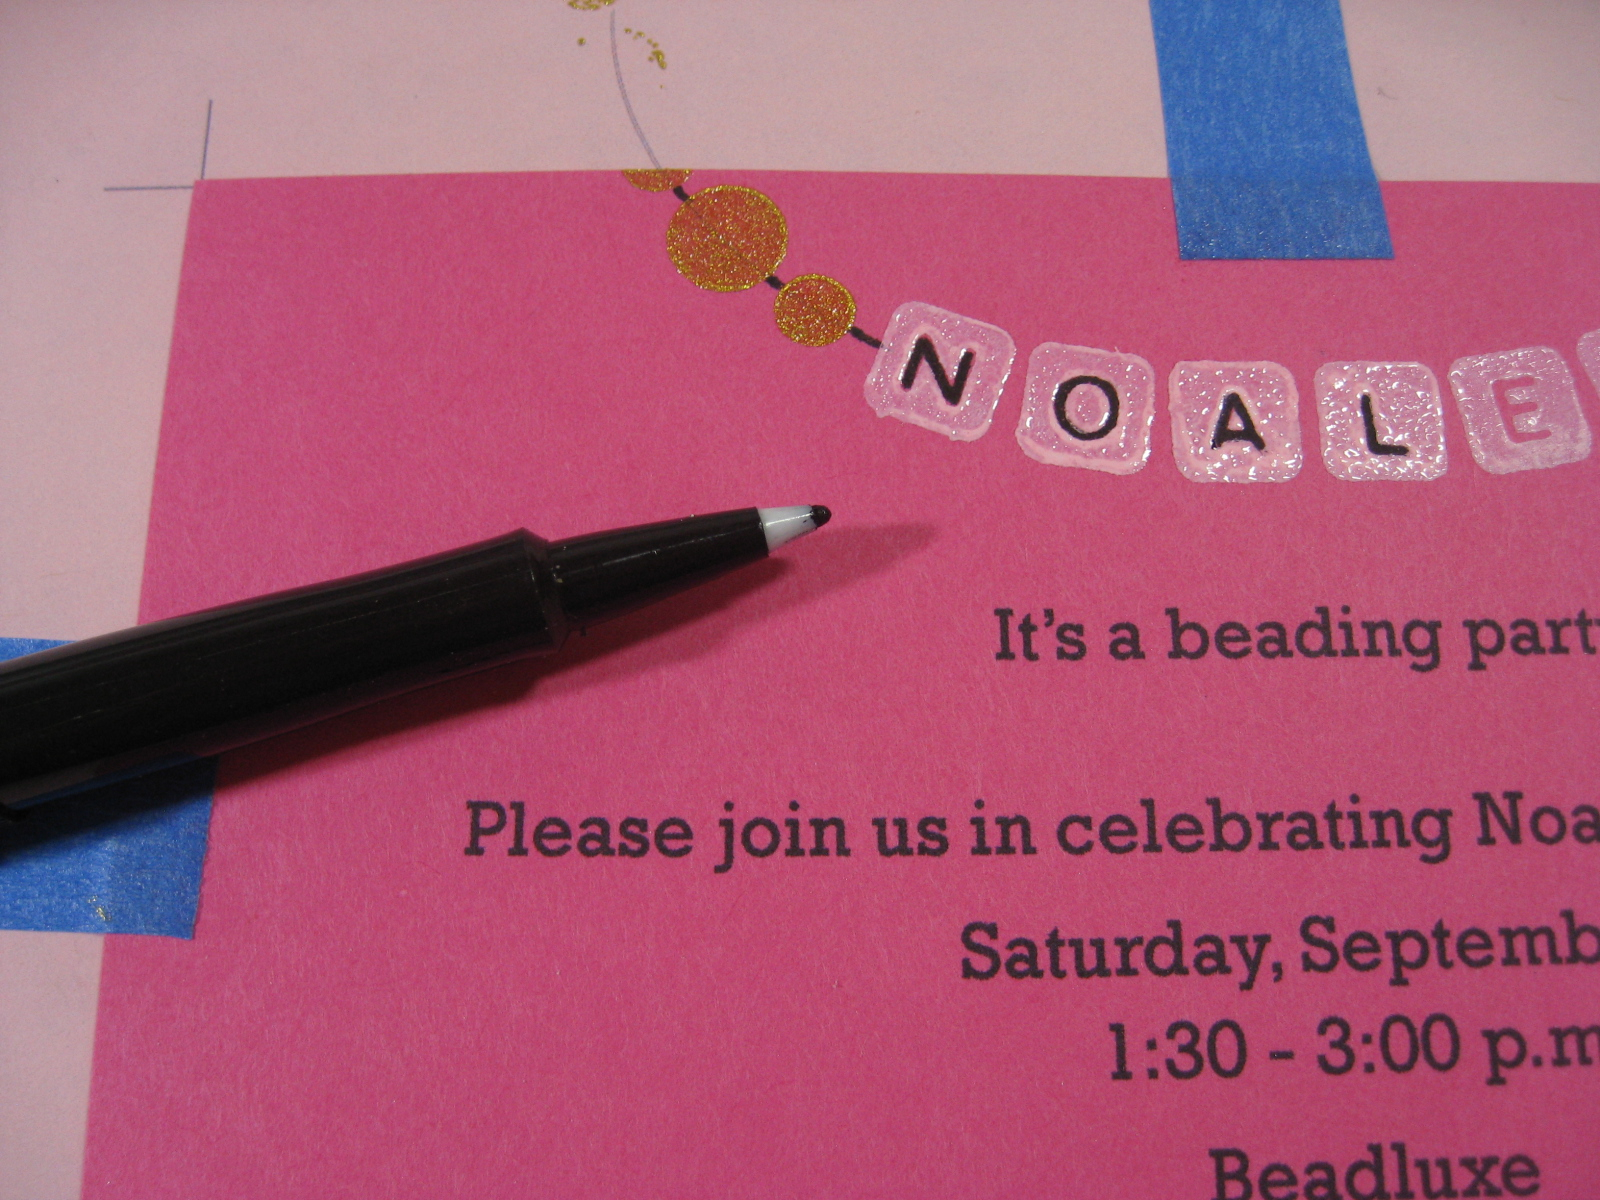
step 9: fill in strings and letter beads
10. Repeat until you have finished all the invitations and voilá! Lovely, personalized, heat-embossed beading party invitations and a forever grateful birthday child!
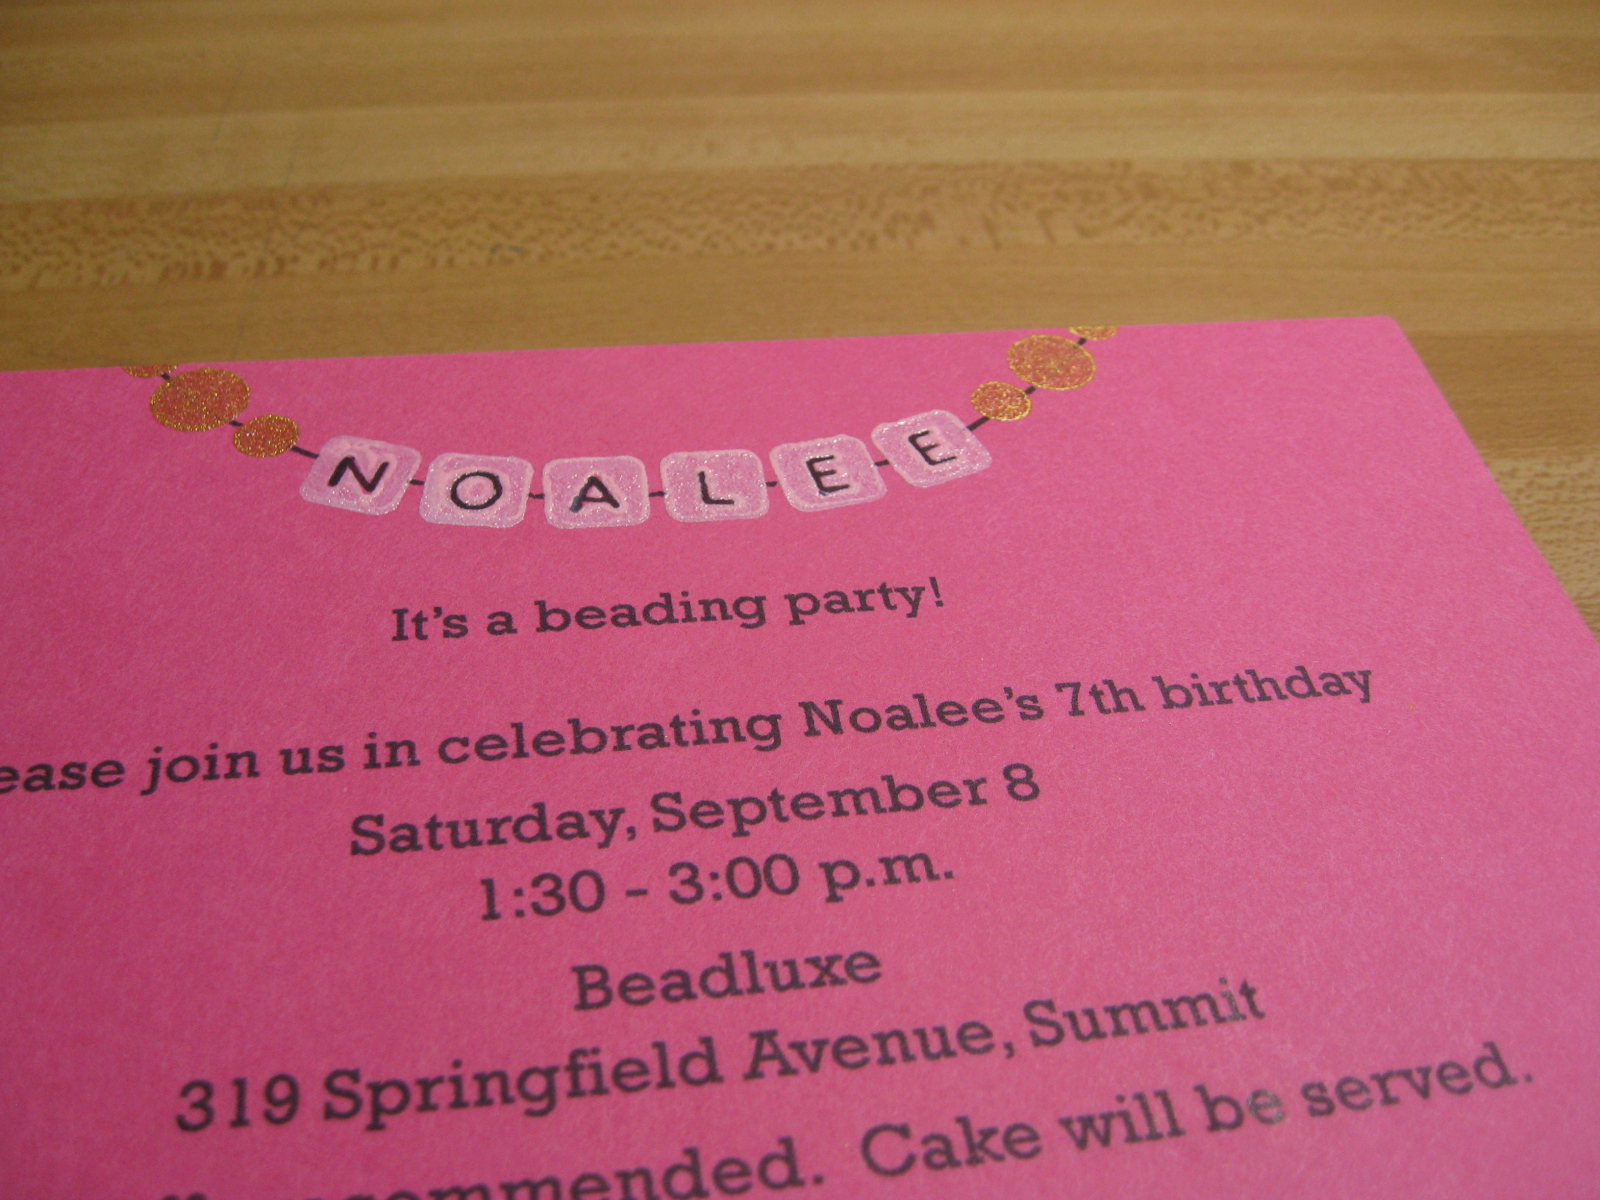
closeup of finished invitation

I love what you guys are up too. This sort of clever work and
coverage! Keep up the xcellent works guys I’ve incorporated you guys to our
blogroll.